At a car boot sale a lady was selling packs of around 500 stamps from all around the world for £1.50. How could I say no? The tiny canvases are perfect for incorporating into jewellery and other art projects. I had more fun than I thought I would going through them all.
These are seven of my favourite designs.
Wednesday, 18 March 2009
Philately Lately
Link to the Past

I was lucky enough to get a commission to put together a costume from one of my favourite game series, Zelda. It was Link's outfit I was challenged with making and I had a whale of a time making it all up.
I started with by gathering up the materials I needed for the basic outfit. This included green suedette which was great to work with (no fraying, fabric glue was fine on the seams, minimising sewing!), and white stretch cotton. The faux chain mail was difficult to find, but I eventually found some silver netting in my favourite haunt: Fabric Land.
The hat was the easiest thing to make so naturally I made that first! Only one line of sewing was needed, then I glued the hem and added the side detail. Next up was the green tunic. Since this was laced up at the side rather than one complete piece, this didn't take too long. I made the criss-cross detail at the front with strips of the suedette.
The white under shirt was the most difficult piece to sew, as I had to work from measurements and no model, since it was a mail order piece. I redid the collar a couple of times, as this was quite tricky.
After this was finished I added the faux chain mail, sewing this into the tunic. I ended up with two pieces - the tunic, complete with chain mail, and the white undershirt. The customer kindly agreed to find some white trousers himself, as I don't think I'm at the level to make trousers from scratch quite yet!
Next up was the accessories - a Hylian shield, Master Sword and the belt brace. I used three belts for the brace. They proved very difficult to attach to each other - I used epoxy and velcro in the end.
For the sword I bought a plastic one and took off the guard. My dad cut some wood into the general shape and I attached and painted it, along with the handle. It's a rough representation but it does the trick! My dad ran away with shield idea and created his own method of making them from a cardboard base. He's sworn me to secrecy.
I used acrylic paints to paint the basic design and touch up, and silver spray paint around the edge. We attached a metal door handle to the back, and a leather jug handle (we just happened to have a bundle lying around!) as the arm brace. I was very pleased with the end result. I'll be making one of these babies for myself next!
I had a fun with this project and learned a lot too. I'm really happy with the way it all came together. I'm still waiting for the customer's verdict and I've asked him to send a couple of photos of it in action - provided it fits!

Thursday, 5 March 2009
Cute as a Button
Last weekend I went to my first car boot sale of the year! I just love walking around the boot sale, not knowing what people are giving up. There's a huge one near my house every Sunday and the weather was good so we headed up. I was on the lookout for old watches, having missed out on some ebay lots recently. I found four watches for £3 (plus a pretty pearl brooch for £1), way cheaper than on ebay. Oh how I love a bargain.
I intend to use them in jewellery pieces.
Rekindling a lost love for antique trinkets, I dug out my grandma's sewing box, where I remembered seeing some old school buttons. Who doesn't love buttons?
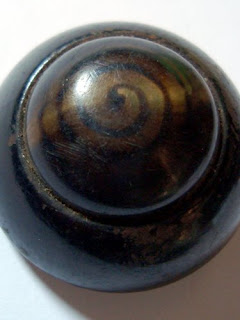
I love how the designs are so intricate for such small things. I can't help wondering what they were originally intended for...I think these are my favourites:


